First of guys, I've set up a twitter page for the blog - if you want to
follow what I'm posting without having a blogger account then this is the best
way! www.twitter.com/LoB_airsoft
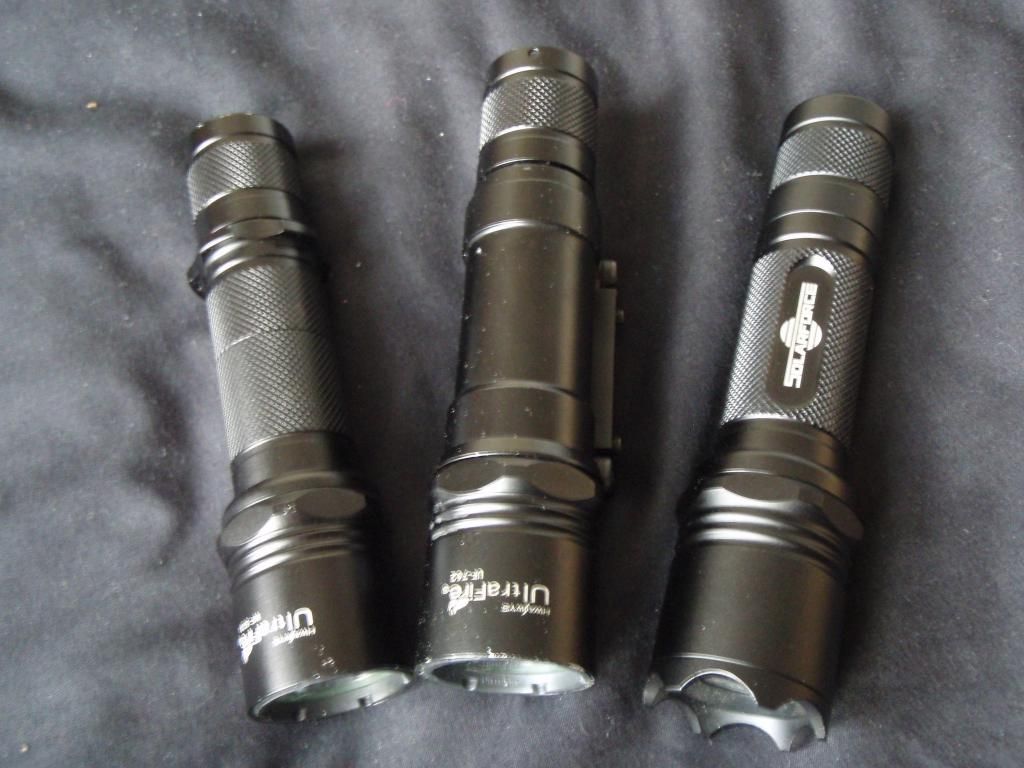 |
| L-R: WF-503a, UF-762, L2 |
Review Scores
Item name: Ultrafire UF-762 with Pressure Switch
Item type: Torch body
Cost: £22 including XML bulb
Overall rating: 3/5
Item name: Ultrafire WF-503a with Press Button
Item type: Torch body
Cost: £12 excluding bulb
Overall rating: 3/5
Item name: Solarforce L2
Item type: Torch body
Cost: £17 excluding bulb new
Overall rating: 4/5
Item Name: Ultrafire Cree XM-L T6 P60 Drop-in (single
mode)
Item type: Torch bulb
Cost: came with UF-762
Overall Rating: 4/5
Item Name: Ultrafire Cree XR-E Q5 P60 Drop-in (single
mode)
Item type: Torch Bulb
Cost: came with L2 second hand
Overall Rating: 5/5
Introduction
Sorry to begin a post with that horrendous list of items
and review scores, but I like to put the summary at the top of the posts. Anyway,
on to the interesting bits now.
For years I thought my Maglite Mini was a great torch -
it was bright, well made and looked the part. Then I got into airsoft and
started looking for a weapons torch for my rifle in preparation for a weekender
back at easter. I initially settled on the Ultrafire UF-762 as it was cheap,
had a built in rail mount and came with a pressure pad. Ideal.
Shortly after getting this torch and discovering how
monstrously bright it was I purchased an Ultrafire WF-503a, intending to mount
it on my bike and transfer the bulb from the 762 over to it. This I did, and
was pleasantly surprised at the quality of the torch. Around this time I
started to have issues with the pressure pad on the 762 and so I started to
look for a better alternative, however I soon discovered that I really needed a
Solarforce L2 to have access to quality accessories. So I bought a second had
Solarforce L2, leading me to this review.
Before reviewing these torches in greater depth, I really
need to explain a little bit about the type of torch these are all based upon,
and what some of the numbers and letters that retailers like to put in the
names for these torches mean.
History
I am not sure how, but SureFire rose to prominence as a
US based maker of high performance torches and weapon lights, and one of their
most successful models was the SureFire 6P. Designed to take 3V CR123a lithium
batteries, the torch initially shipped with a xenon incandescent bulb, which
apparently wasn't that bright. The bulb unit that it took was called a 'P60
drop in', and shortly LED drop ins were available, increasing battery life and
lumen output far beyond the original design.
At some point a company called CREE rose to the position
of making the best high output LEDs on the market, and as SureFire began to
expand the range of 6P based torches, the imitations soon followed. First and
foremost amongst them is the Solarforce L2 - according to many users on
flashlight forums it is simply the best P60 host (body into which you place a
P60 drop in) that one can buy. Other off-spec imitations followed (they are
numerous), and the user can select from a wide range of P60 hosts, and a wide
range of P60 drop ins.
UltraFire WF-503a
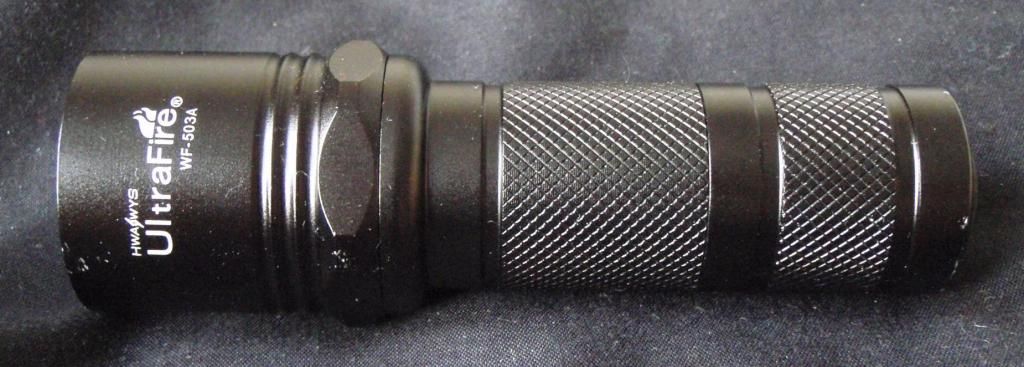 |
| WF-503a without extension tube |
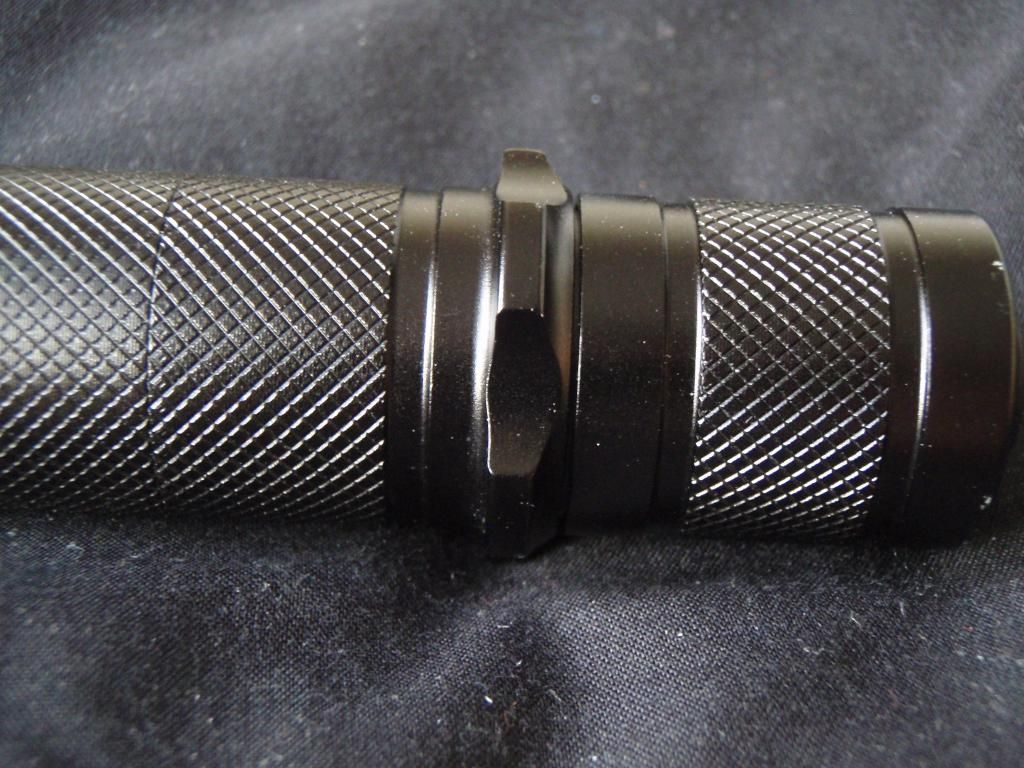 |
| Tailcap and extension tube |
The tailcap is well machined, featuring a hole to fit a
lanyard and a rather hard to press tailswitch. I improved the quality of the
tailswitch by putting a little bit of sheet plastic underneath the rubber cap -
this meant the cap had to be pressed in less before the switch was triggered.
The switch assembly is not sealed against water.
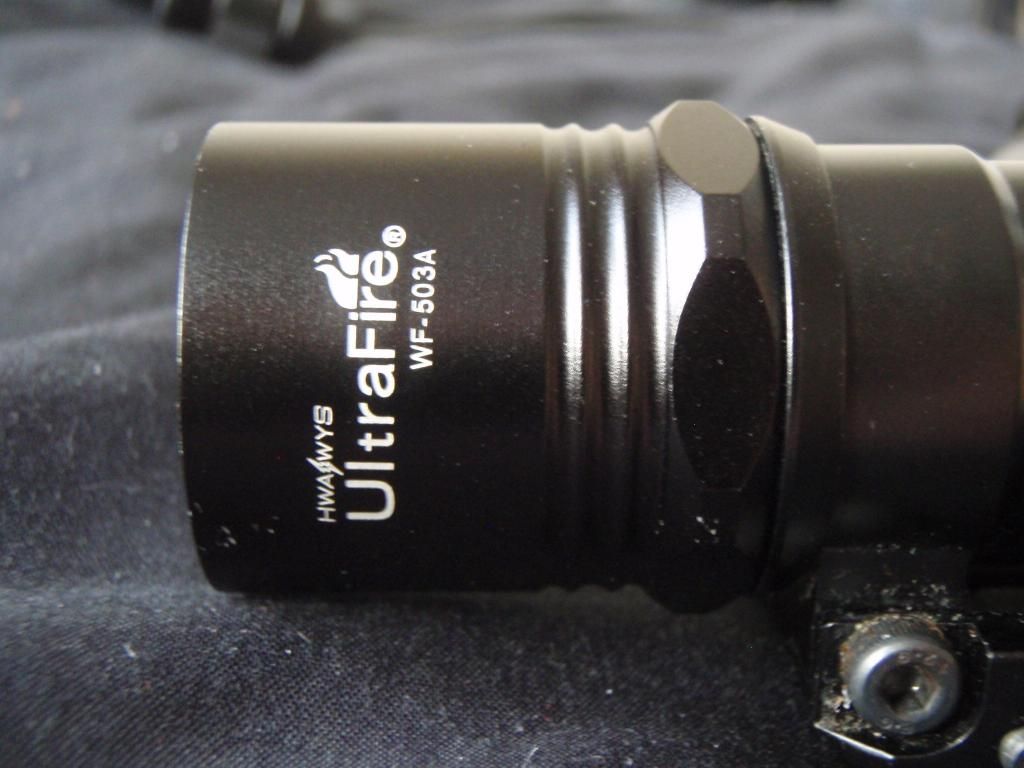 |
| Head Assy on UF-762 Body |
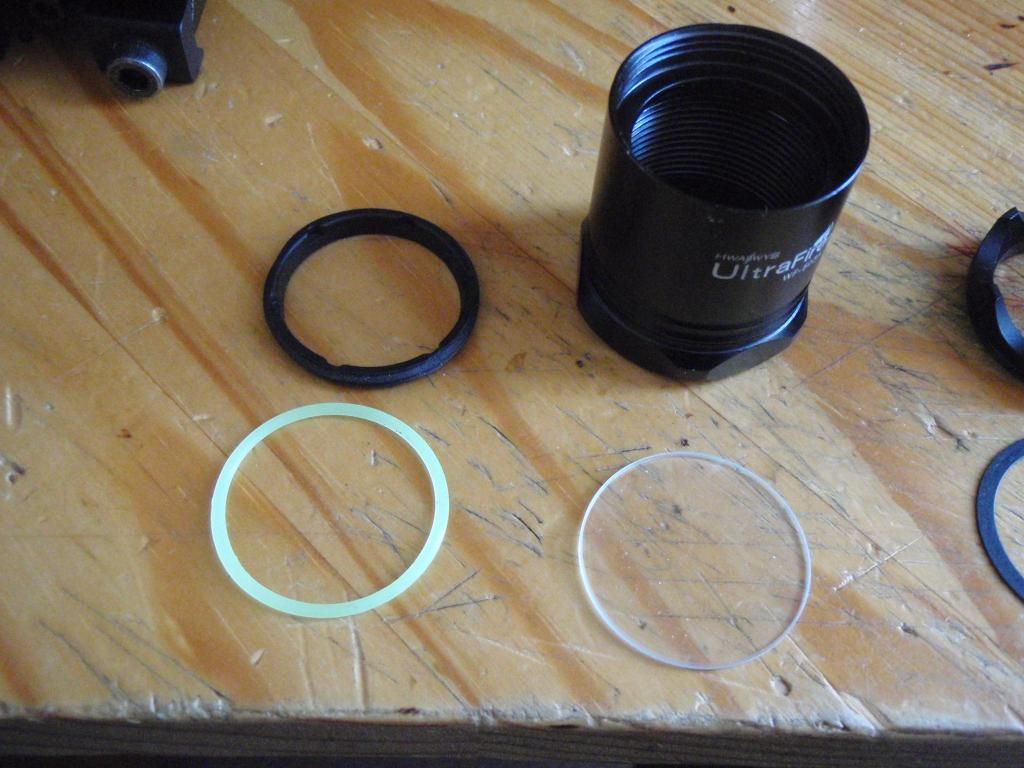 |
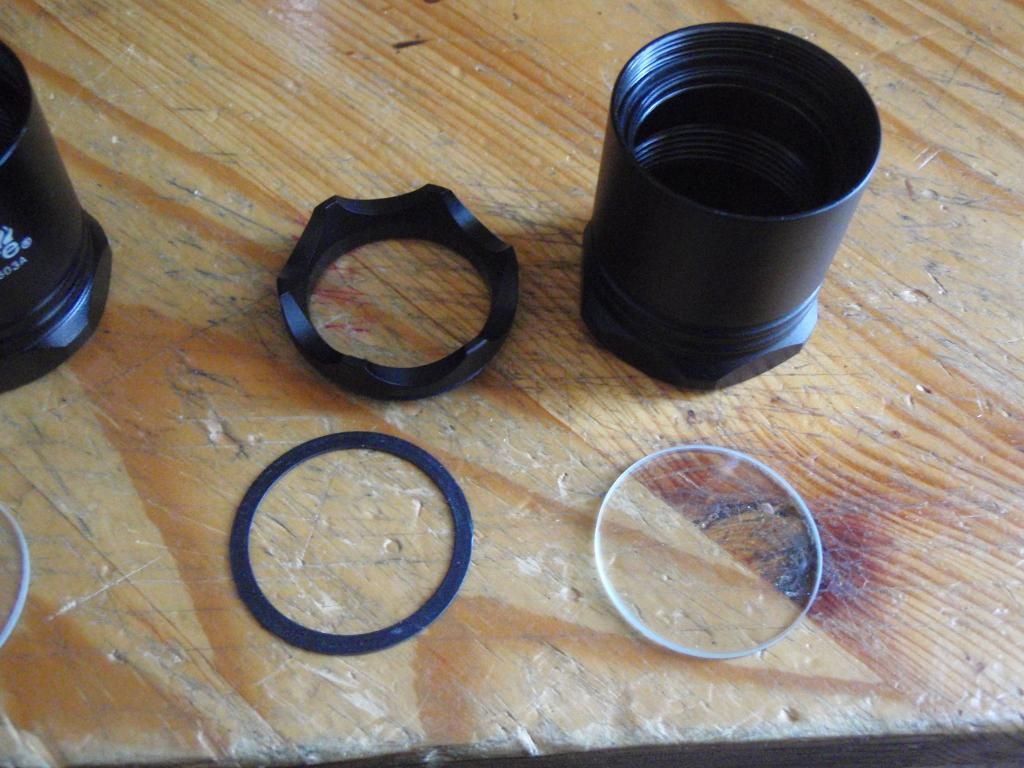
| Dismantled Head Assembly |
model cleanly engraved. The only two downsides of the head assembly are the bezel and the covering glass. The covering glass is quite thin - only 1.5mm, and the bezel (the ring that holds the glass into the head assembly) is made of plastic - I don't anticipate either of these components surviving a strike from a BB. There is a glow in the dark o-ring that seals between the glass and the head, meaning that water can only ingress from the rear of the torch.
The torch is bored out to accept high capacity batteries
- I currently run it on 16340 rechargeables, which are the same size as CR123a
batteries, however it can take larger diameter cells such as 18500 and 18650
cells if the right extension tubes are fitted. The torch came with a sleeve to
stop 16340s from rattling inside the
torch - a rather neat feature.
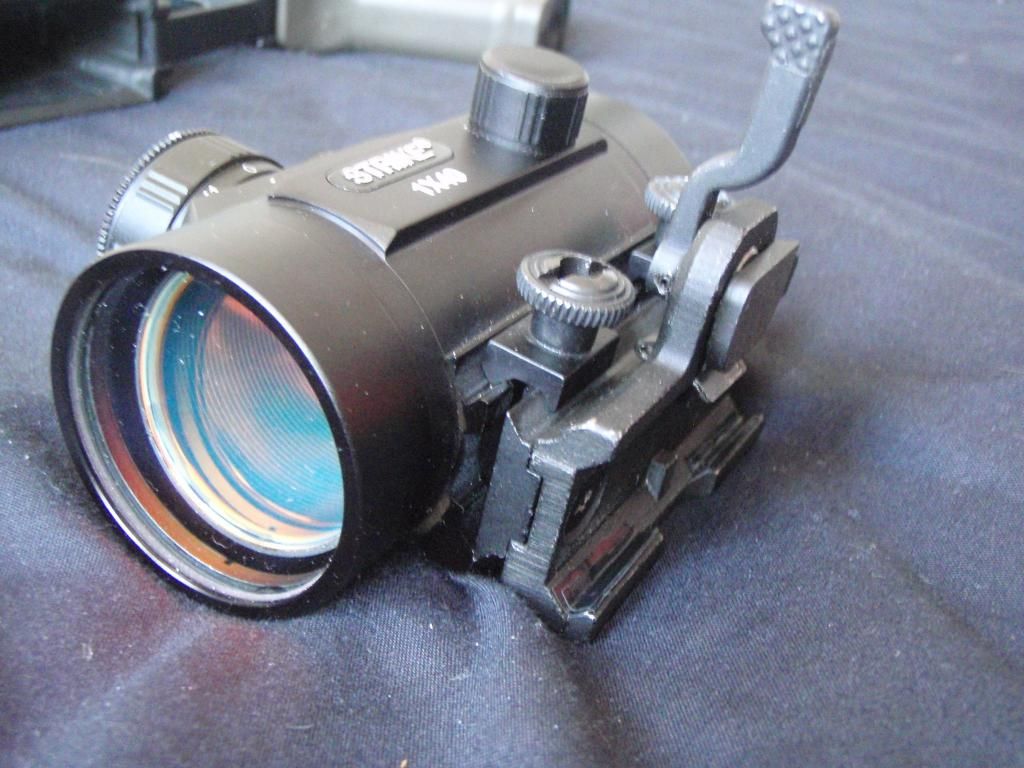
UltraFire UF-762
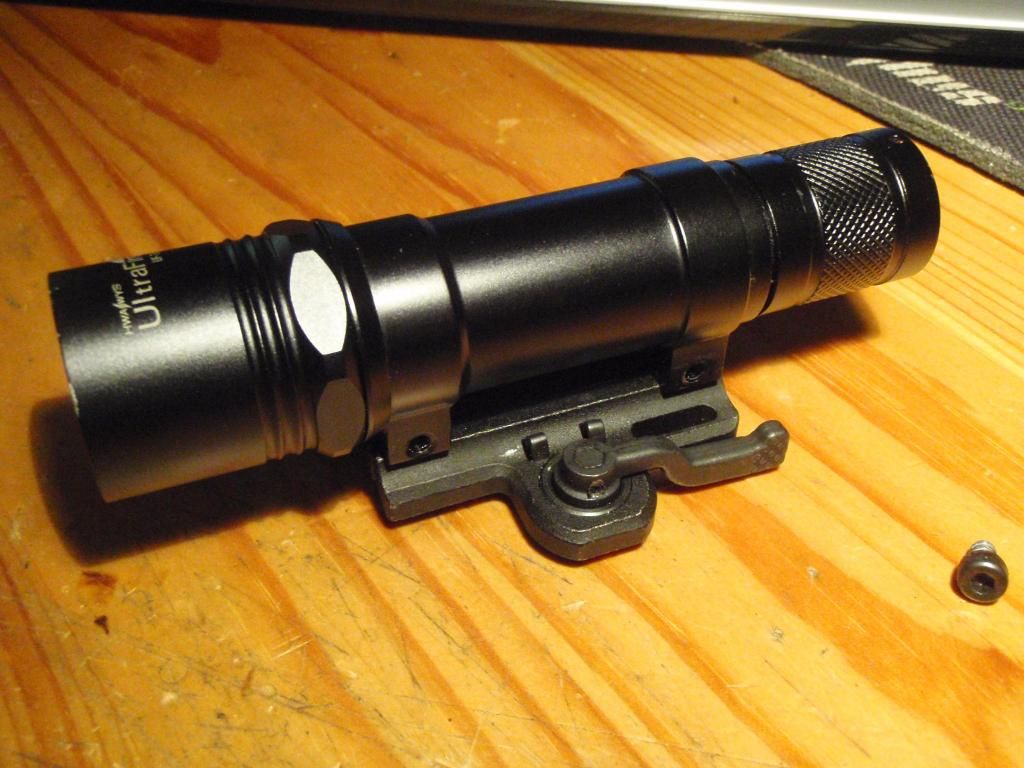 |
| UF-762 with ARMS #17 clone installed |
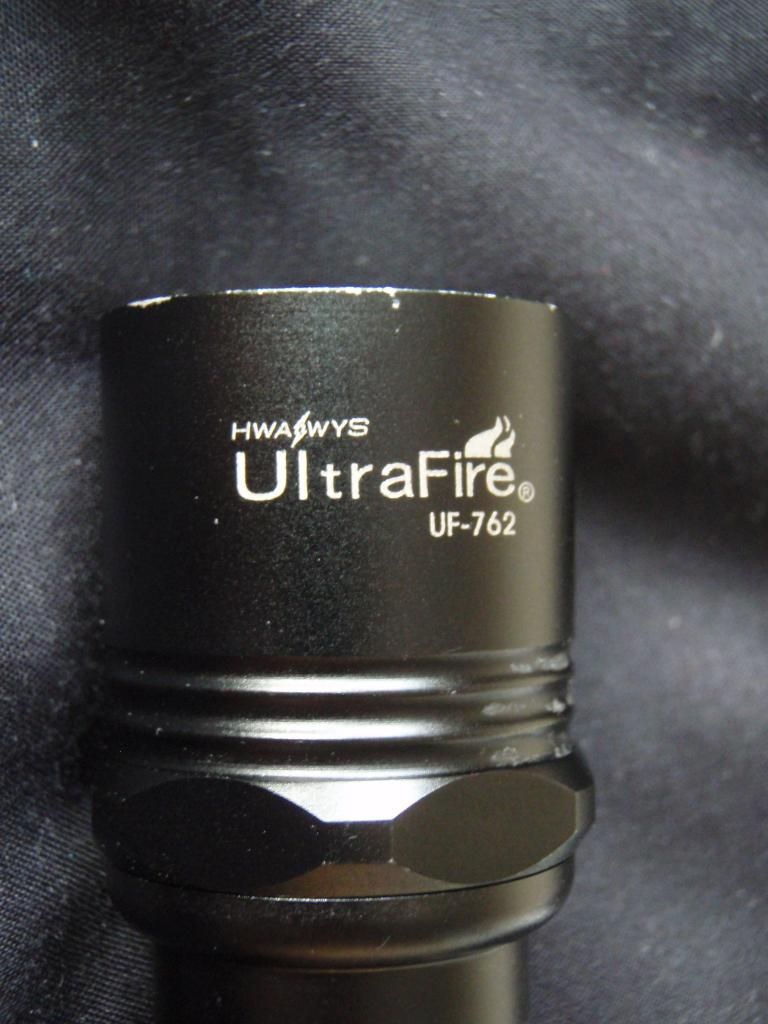
The second host I'll talk about is the UF-762.
Specifically this is a clone of the SureFire M620 weapon light.
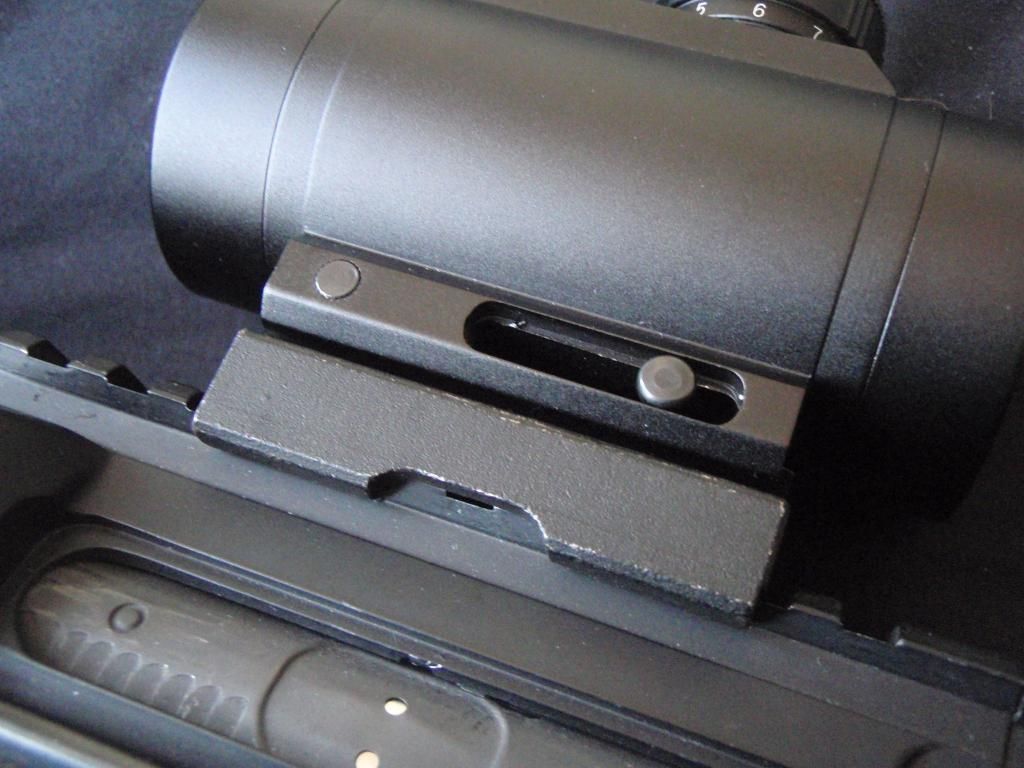
 |
| The provided rail mount |
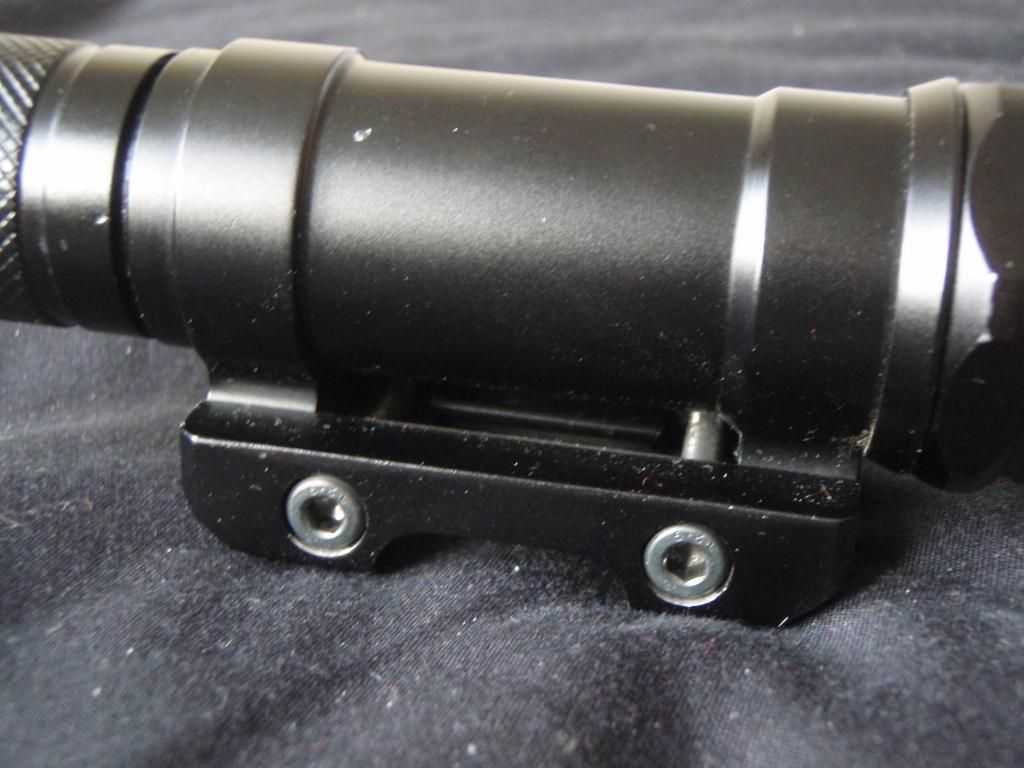
The rail mount can be removed, and replaced with any
mounting
system that fits a milspec channel, such as the ARMS #17 mount (my old friend), meaning you have a quick release torch that will solidly mount to your weapon system of choice.
system that fits a milspec channel, such as the ARMS #17 mount (my old friend), meaning you have a quick release torch that will solidly mount to your weapon system of choice.
 |
| The bottom of the mount |
 |
| UF-762 Head Assy |
soldered contacts, and the wire itself was incredibly stiff. Cutting open the pressure pad at the other end (by this point the heatshrink was already starting to tear) revealed very stiff springs and thin sheet brass as the connectors. The copper traces that completed the circuit board were completely worn away, explaining the intermittent connection problems.
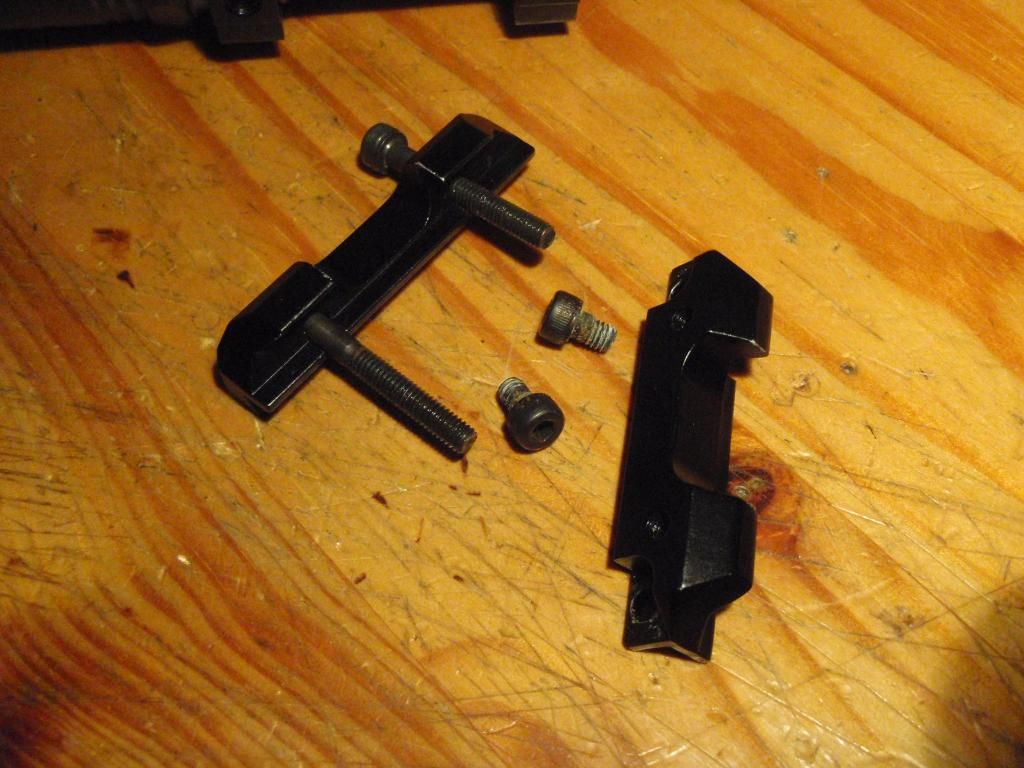 |
| The mount removed from the torch |
I made my own pressure pad and re-soldered the wires, and
for a time it was good - but the poor quality wiring let me down twenty minutes
into the weekender, and I switched to the button tailcap that came with the
503a.
The head assembly is identical to the 503a head assembly apart
from the torch model number.
Solarforce L2

This is the cream of the bunch - I snapped this up for 20
quid second hand including a bulb, rail mount, clicky tailcap and pressure pad
tailcap. This was in response to a thread on zeroin forums in which I found out
that Solarforce tailcaps were not compatible with the Ultrafire torches that I
had (although Ultrafire do make a torch that is supposedly entirely 6P
compatible).
 |
| The L2 Head Assembly |
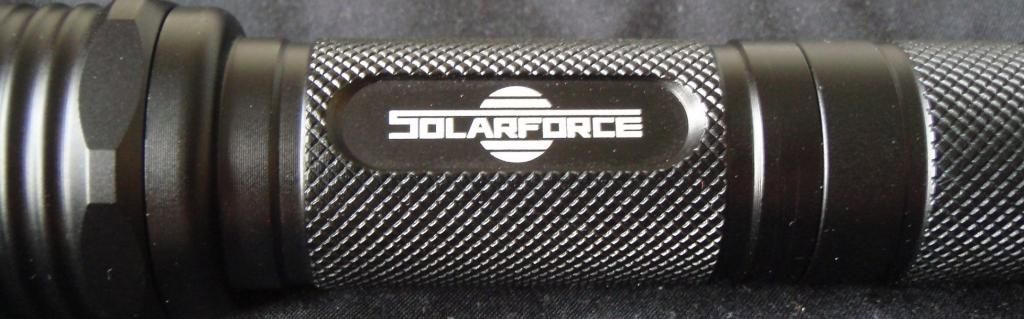
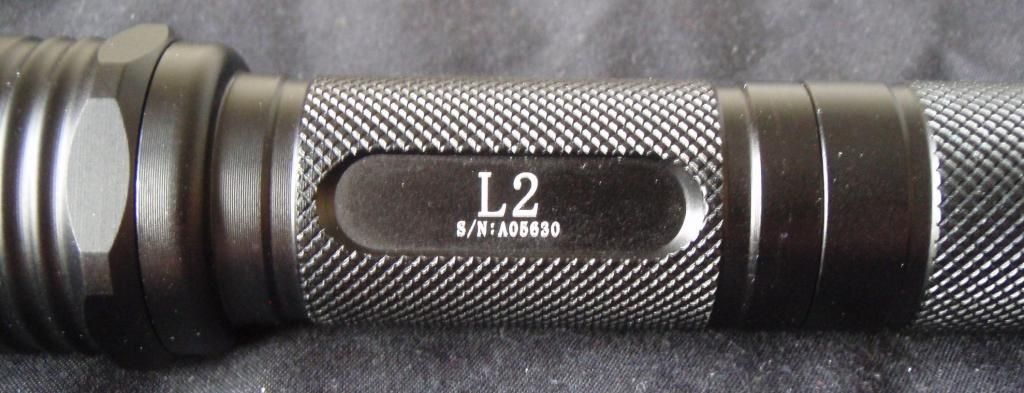
The body sports crisp markings, including the Solarforce logo, the torch
model and a (legitimate) serial number.

Sure enough, as I had read the tailcaps were not
compatible with the 503a and the 762, however they were of much higher quality.
The tailswitch is a "forward click" switch, meaning that the light
switches on before the switch goes "click". This is great for
momentary switching on of the torch. The ultrafire tailcap is a "reverse
click" switch, meaning that the opposite is true - this makes momentary on
far trickier to manage.
 |
| Solarforce Pressure Switch |
The pressure switch tailcap is very well built, with the
pressure pad giving a tactile click when it is depressed.
The wire is also shorter, and much more flexible, however
once again strain relief is not really provided for, the glue that bonded the
insulation to the body of the cap having
long since failed. I intend to fix this by "potting" the wiring,
where one fills the hollow interior of the cap with epoxy, both water proofing
it and providing strain relief at the same time. Once again, the cap is fully
waterproof.
Ultrafire Cree XM-L T6 P60 Drop-in
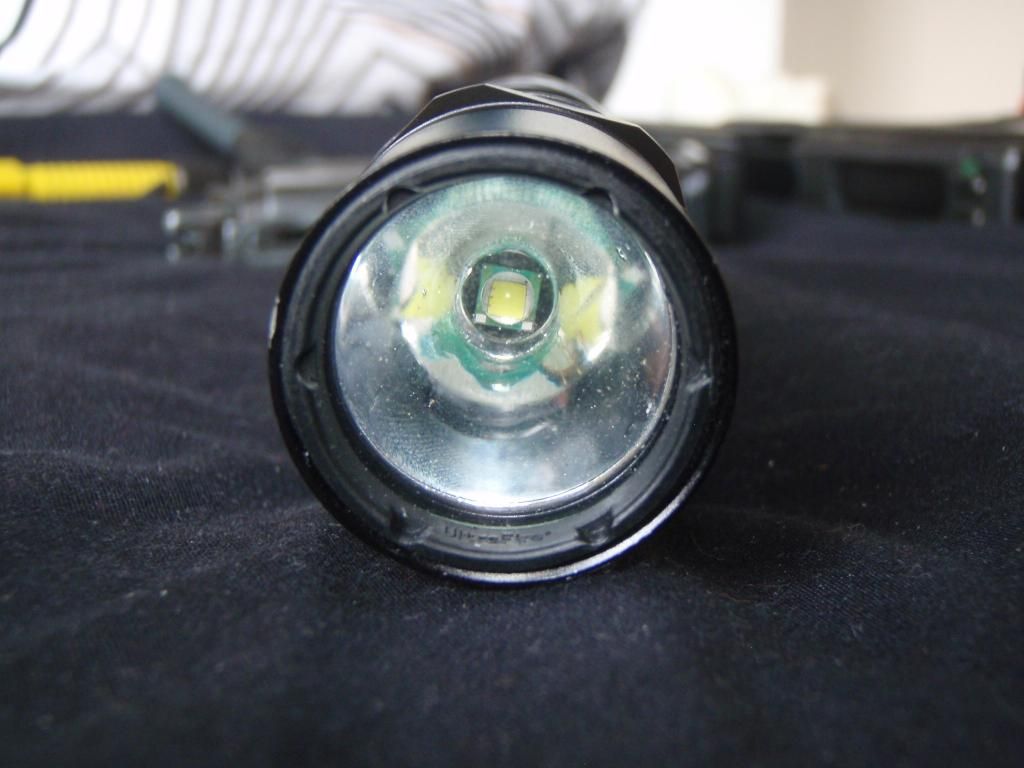 |
| Installed in the WF-503a |
The first of the two drop-ins I'm reviewing is a very
bright, unfocused unit. The name is quite complex, so I'll break it down.
Ultrafire refers to the company that has assembled the P60 unit, consisting of
a brass pill, an LED, a driver circuit and a reflector. Cree refers to the LED
manufacturer, in this case CREE, and XM-L is the model of LED used in the
drop-in.
On manufacture no two LEDs are created equal, and CREE
tests them all with the same voltage and current to measure the lumens output.
The LEDs are then separated into bins, with higher letters and numbers
indicating better (brighter) LEDs. The bin codes vary from model to model, and
T6 is about mid-range for the XM-L, with U2 being the brightest bin available.
Needless to say, an XM-L U2 based drop-in is going to be more expensive.
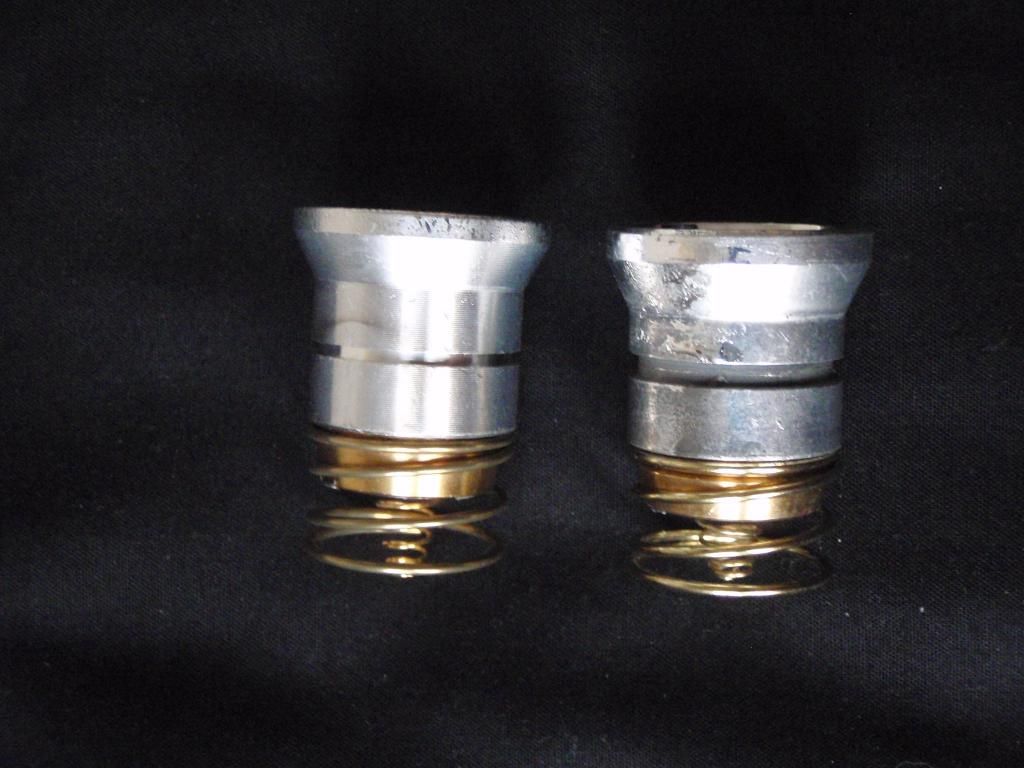 |
| Left: XR-E Drop-in Right: XM-L Drop-in |
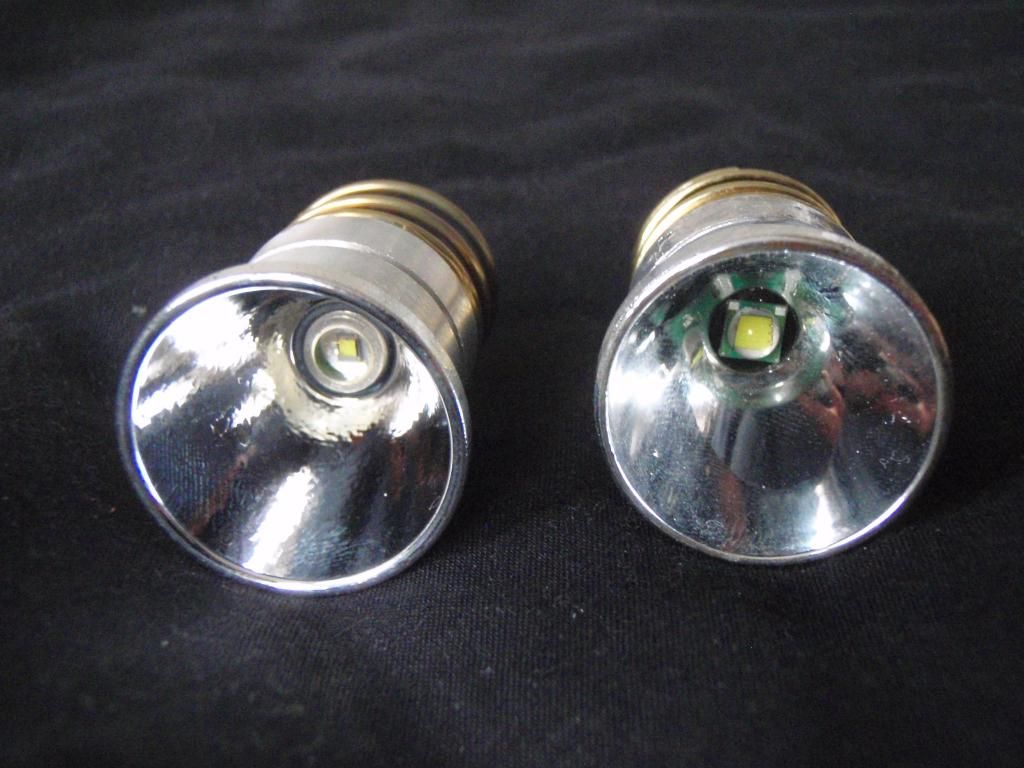 |
| Left: XR-E Drop-in Right: XM-L Drop-in |
The unit seems to be averagely assembled - the reflector
has mucky manufacturing markings on the outside, and a few minor flaws on the
smooth reflector surface. The circuit board is soldered to the pill in two
places, so I wonder whether this would withstand real weapon recoil.
Ultrafire Cree XR-E Q5 P60 Drop-in (single mode)
 |
| Installed in the L2 |
This drop-in has much more of a long-throw beam, but
overall is not as bright as the XM-L. The assembly quality is much higher on
this as well. The reflector is dimpled, and well made, with none of the
blemishes on the outside that were evident on the XM-L drop-in. The springs are
higher quality, and the soldering is better quality.
What I did find was that the XR-E LED delivers a very
good aiming spot - from 5 metres away the spot is torso sized - if your gun is
well set up you can just place the light spot on target and pull the trigger to
get a hit, making it very useful in CQB situations. As you can see from the pictures the LED itself is a lot smaller, with a
larger aspherical lens. I have a poor quality Insight M6 clone that uses the
same LED - once again the targeting capability of this torch really is useful.
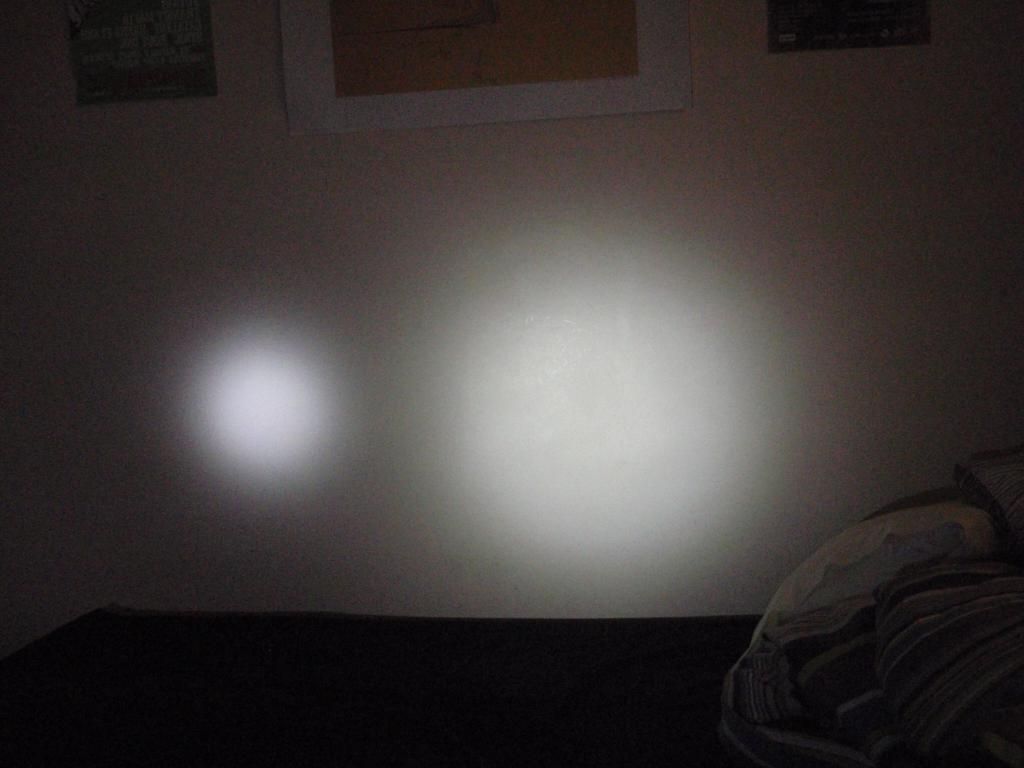 |
| Beamshot comparison. Left is XR-E and right is XM-L |
Conclusion
This has been a bit of a mammoth review, but there was a
lot to talk about. Sorry for the quality of some of the pictures - they were
taken quite late in the day, and I didn't have a tripod handy to stabilise the
camera.
Overall I'd recommend all of these torches to people
wanting weapon-lights for airsoft, but to the discerning user I would say that
the L2 is the best host, and the XR-E the best LED for the job on this budget.
The L2 can be fitted with a wide array of accessories, made by surefire and
solarforce. These include rail mounts, agressive bezels, head assemblies,
extension tubes with built in QD rail mounts, combo pressureswitch/button
tailcaps etc.
The UF-762 is a great torch, let down only by its rear
tailcap thread. Currently I have a broken arm so I can't do machining myself,
however I have a friend re-machining the rear of the 762 so that it can accept
solarforce and surefire tailcaps. Once I have had this done I will be
installing a solarforce head and tailcap and an ARMS #17 rail - then I will
have arrived at the ideal budget torch (though by that point it won't be that
budget any more).
Here are a few comparison photos of things that weren't included in the review:
Here are a few comparison photos of things that weren't included in the review:
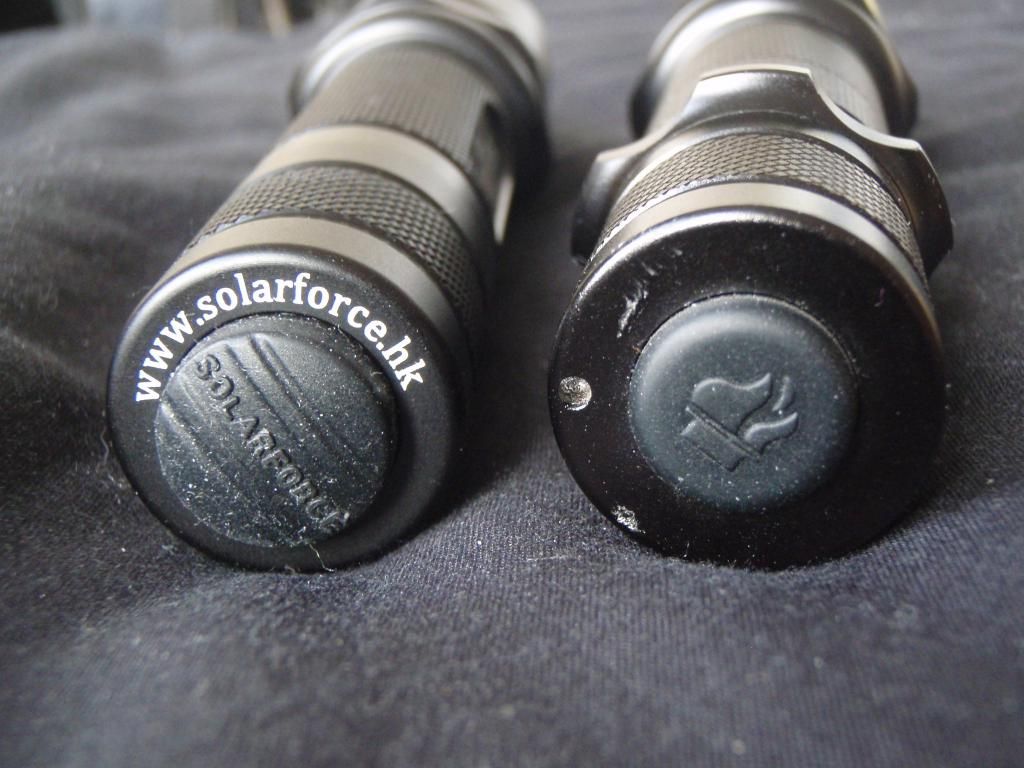 |
| Comparison of tailcaps (L2 on left) |
 |
| Comparison of head assemblies (L2 on left) |
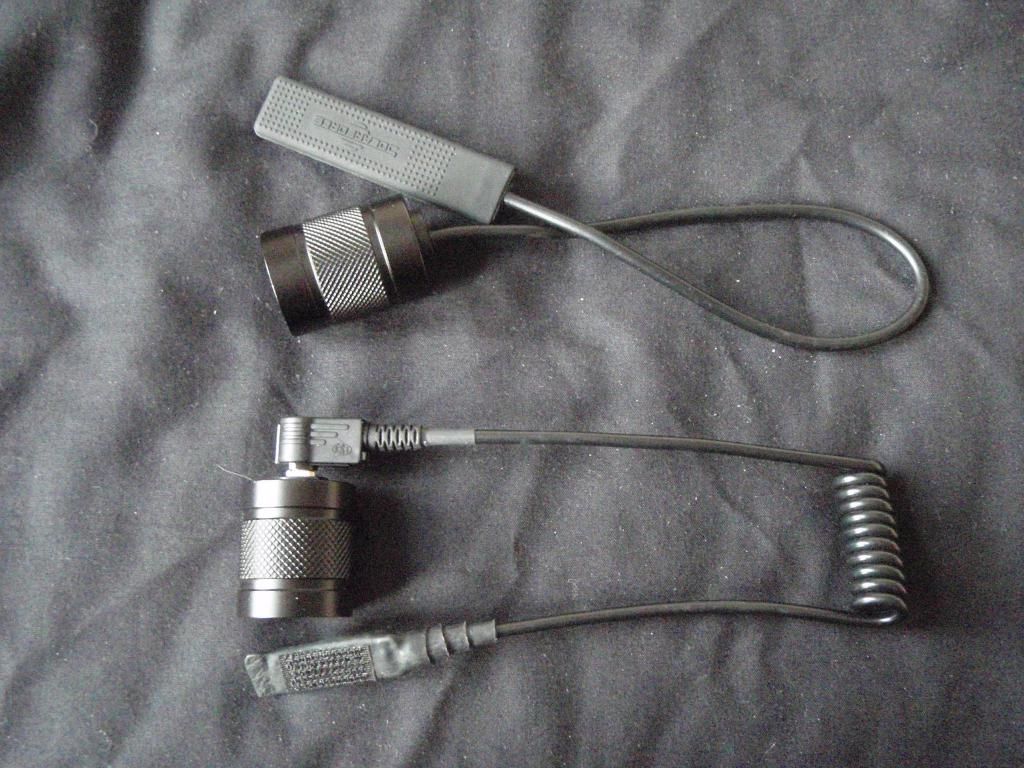 |
| Pressure switch tailcaps (L2 on top, homebrew on bottom) |
 |
| Lens comparison (L2 on left) |
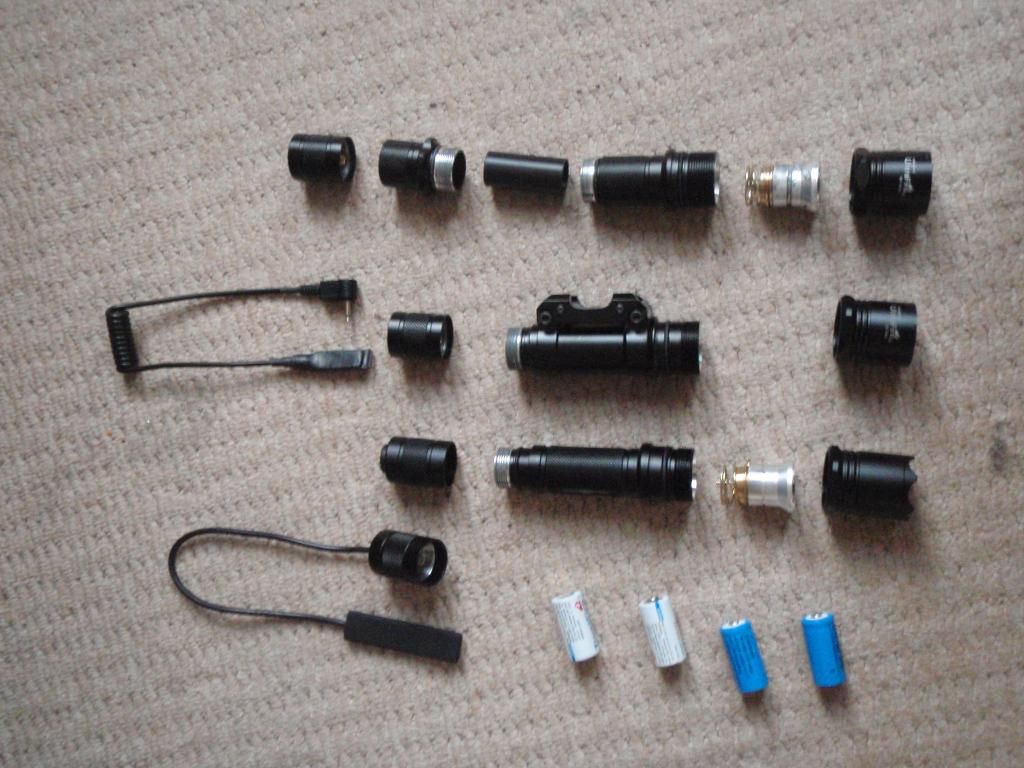 |
| All the torches stripped down. Top to bottom WF-503a, UF-762, L2, two CR123a cells (white) and two 16340s (blue) |
